Rendering in Animation: Bringing 3D Scenes to Life
Once your 3D animation is fully animated and properly lit, it’s time to move into one of the most technically demanding steps of production—rendering. While often paired with lighting in conversation, rendering is a distinct stage of its own. It is the process of generating final frames from the 3D scenes using dedicated software and computing power. At this point, you’re not designing anymore—you’re translating all your artistic and technical choices into actual images, pixel by pixel.
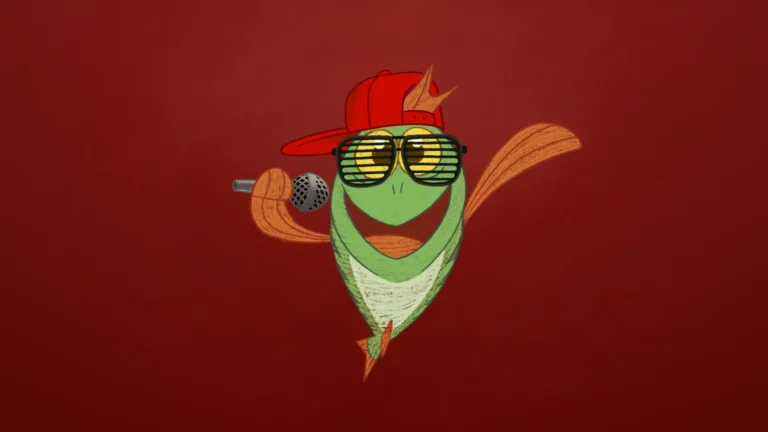
Artistic rendering of the rendering process of Merge Mansion Hopeberry Juice Spike.
What Is Rendering in Animation?
Rendering refers to the process of calculating and producing the final visual output of your animated scenes. The computer “draws” each frame, processing data related to geometry, lighting, textures, shaders, camera perspective, and more. Depending on the complexity of your scene, rendering can take anywhere from minutes to several hours per frame. That’s why having a rendering specialist onboard is vital—not only to ensure visual accuracy but also to optimize the performance and efficiency of the render pipeline.
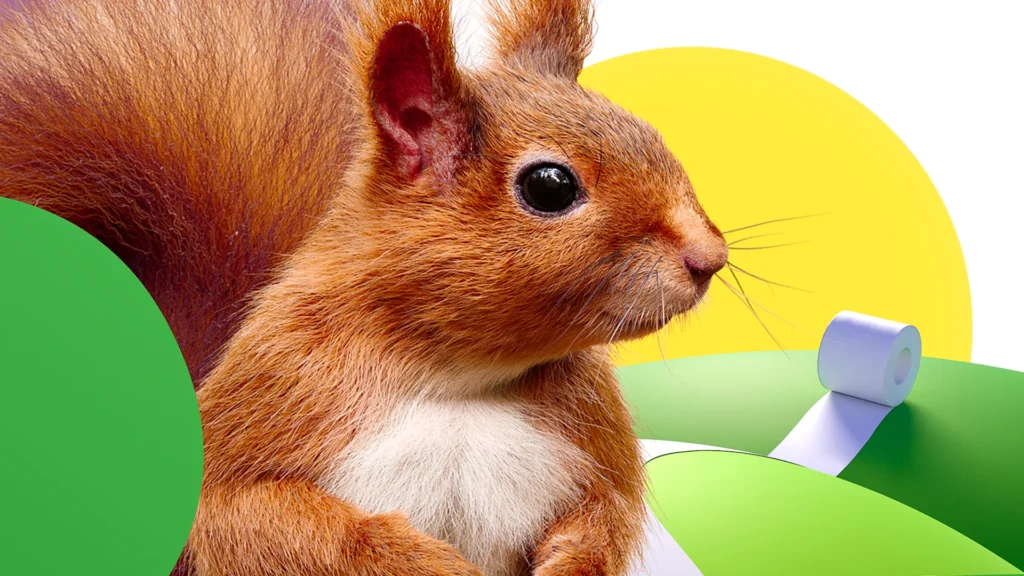
Photorealistic, furry animals are among the most challenging things to create from a rendering standpoint. A still image from the Serla Brand Animations case.
Optimizing for Output
In high-end animation, rendering is more than just pushing a button. Artists must be able to balance quality and performance. A skilled render artist will optimize scenes by minimizing unnecessary detail, balancing memory usage, and reducing render times without compromising the visual result. They must also anticipate the needs of the compositing stage, often rendering out several different layers or passes for each frame.
Above you can see a render pass breakdown from a project for Paulig City Coffees.
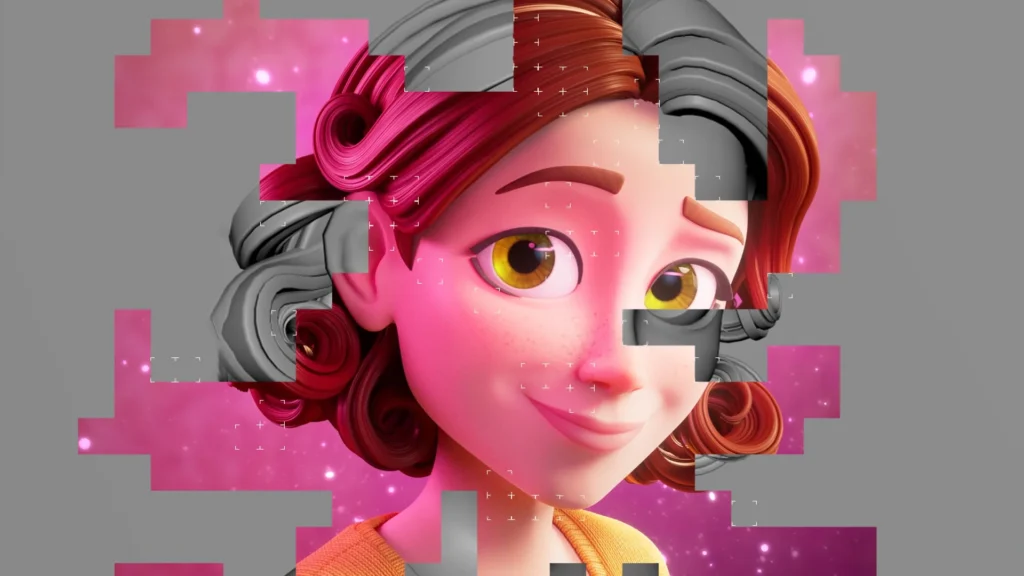
Understanding Render Passes and AOVs
Rather than producing a single final image per frame, rendering typically involves generating multiple passes—individual layers that represent different visual aspects of the image. These might include:
-
Diffuse color
-
Specular highlights
-
Reflections
-
Shadows
-
Z-depth
-
Normals
-
Ambient occlusion
These passes are referred to as AOVs (Arbitrary Output Variables). By separating these elements, you allow the compositing team far more control over the final look. Need to tweak the intensity of a reflection or adjust the warmth of a shadow? With render passes, that can be done without re-rendering the entire animation—saving time, cost, and computing resources.
Above is an example of using various render passes or AOV:s in animation, that are combined and adjusted in compositing.
Collaboration with Compositing
A smooth rendering pipeline depends heavily on good communication with the compositing team. Early decisions about AOVs, file formats, color spaces, and naming conventions can prevent significant bottlenecks later on. The more accurately rendering is aligned with the needs of post-production, the more flexible and polished your final result will be.
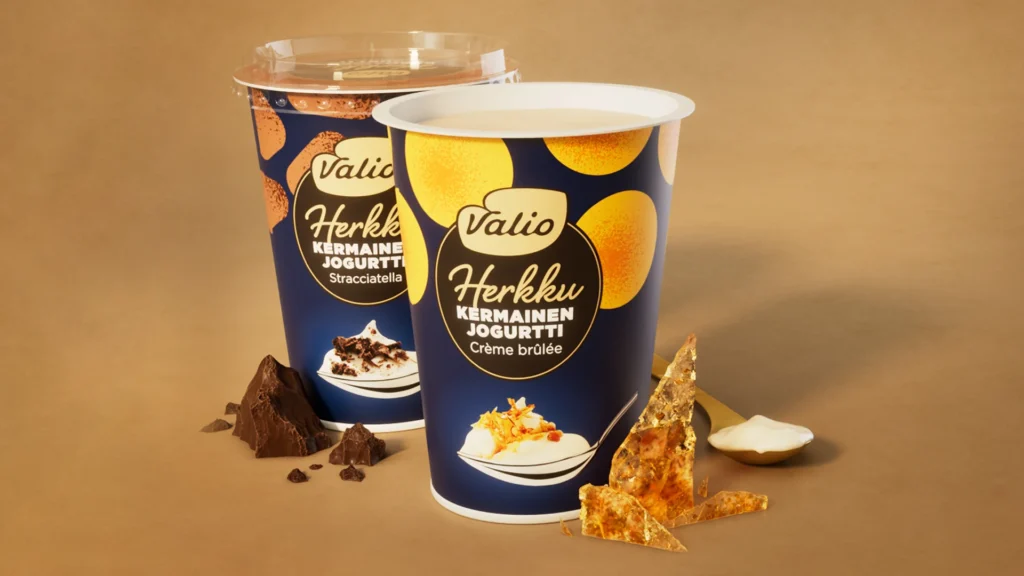
Lighting, rendering and compositing delicious product shots is an artform of its own. This is from a project for Valio Herkku.
Why It Matters in Marketing Animation
In the world of commercial and marketing animation, where visuals need to stand out in crowded digital spaces, rendering becomes an opportunity to push quality. Hyper-realistic materials, vibrant color grading, smooth motion blur, and detailed shadows can elevate even simple concepts into premium, high-impact visuals. Whether you’re rendering fizzy beverage droplets, shimmering particle FX, or ultra-detailed product animations, it’s rendering that turns your 3D work into a cinematic showpiece.

If you enjoyed this guide, make sure to check out other posts in our blog!
Need high quality rendering in your animation?
Don’t hesitate to get in touch!

Ilari Koskinen
Executive Producer
+358 40 773 7312
ilari@brinkhelsinki.com